
This project nearly killed me. I thought it would be simple because this jacket was essentially just the rub-off sloper I made with a couple easy added elements: pockets and a hood. Nope; the hood took me days to figure out, even though I did it before, and the plastic material was almost impossible to work with. This jacket took me an extra week to make. That's a little embarrassing. I might not even take the jacket because it's so fragile (sewing the plastic basically just made it like perforated paper). I'm not happy.
ELEMENTS:
Hood:
The hood was just frustrating. It took me many appempts and days to get to something I really wanted. I wanted a hood that covered the neck and still conformed to the head. I did a bit of research, and the ARCTERYX company made jackets with the hood I desired (figure 2). My first attempt (trial 1 in figure 1) was just off. I was not too disapointed because it was my first trial and mistakes were bound to happen. My second attempt (trial 2) was even more off. This is when I started to get pissed. I thought all of the mistakes from the first trial were corrected, but I made the situation worse. Then I realized that I was going about the hood the wrong way. I was just going off of the neckline. However, I didn't realize that I needed to make a BUILT UP neckline. So in my third attempt I built up the neckline a bit... and it still didn't work. I was really upset because I still didn't have a good enough hood. But, what kept me going was that I was going in the right direction. I needed to build up the neckline more from the center front. In my fourth trial I was still a little off, but the hood was in the shape that I wanted (or close enough anyway). All I had to do was make a few fitting adjustments (seen with the pins). But alas, I had a hood that I was satisfied.
 |
| Figure 1: The four trials I needed to figure out the hood. I was not happy throughout this process. |
 |
| Figure 2: Comparison of Arcteryx's hood and my hood. |
Plastic:
Well, I wanted my jacket to be water-proof. I was too cheap to buy water-proof fabric, so I just bought vinyl and put it over regular fabric. This was a big mistake because sewing the vinyl made it unstable. If I sit the wrong way, or stretch in an odd way, I'm afraid that I might pull the plastic out.
 |
| Figure 3: Putting vinyl over fabric |
Pockets:
I really like welt pockets, and I've never made them before, so I thought this was the right time to make them. Note, I had to put paper over the plastic so that I could top stitch (otherwise the garment would get stuck on the foot). Also, I had to take everything in place, NOT PIN. Pinning would make permanent holes.
 |
| Figure 4: i had to put paper over the plastic so that I could top stitch. |
I thought the pocket it would be a good place to add a little surprise with a pop of color (figure 5). I thought it turned out great!
 |
| Figure 5: The pop of color under the pocket flap. My favorite part about this jacket. |
I thought I would simplify my life by not adding a lining (the fabric under the plastic is an "underlining"). To finish the seams, I thought I would bind all of the edges.

 |
| Figure 6: The edges were bound before I attached them together. This series made the process go a lot faster. |
Vent:
I wanted to add a vent because they are classy. However, I couldn't think of a way to make a neat vent with out lining . So I decided to line only the vent! After making the vent, I stitched the lining to the underlining. This way the vent remained classy and clean.
 |
| Figure 7: the vent lining pinned to the underlining. |
Zipper shield:
I added a zipper shield so that the zipper would not get caught on my clothes.
 |
| Figure 8: Zipper shield under right hand. |
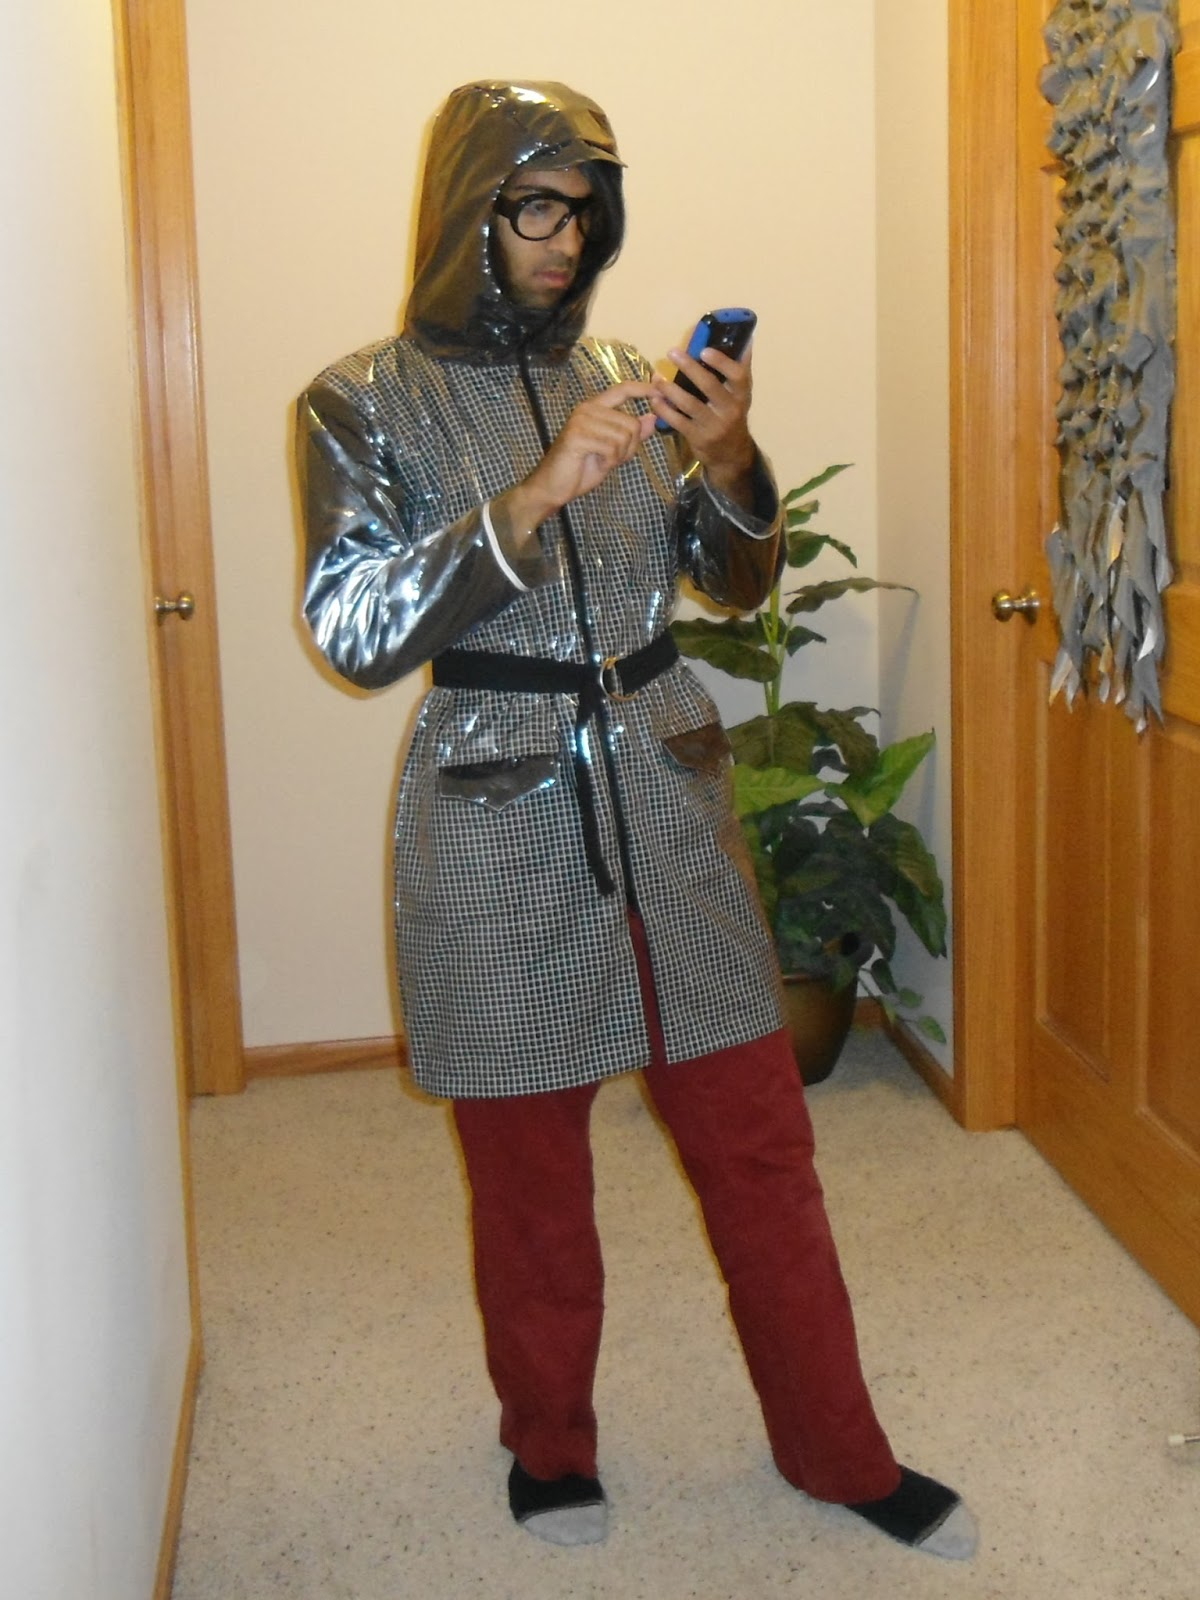
RANDOM PICTURES:
 |
| Figure 9: The vent, pocket, an hood in action |
This is awesome! Even if it's somewhat fragile it looks amazing. Congrats on the study abroad, can't wait to hear more about it!
ReplyDeleteThank you! I will keep you updated on the study abroad!
DeleteAP. You seriously just need to make jackets for me. Also SO FUN that you are going to Oxford study abroad!!
ReplyDeleteThank you! Once I get understand how to make darts, I will definitely made a jacket for you (and it will be stable!)
Delete