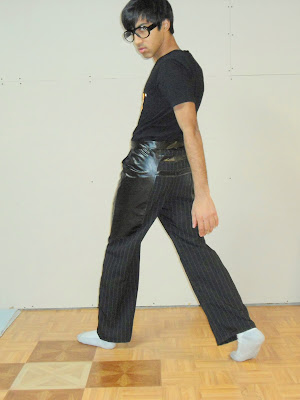
This semester I really wanted to take Print and Dye. I faked this whole scene with the Design School for a year just to be able to take the class. But alas, I felt really pressured with my other classes and decided not to take it :( It does have a history of being a time intensive course, and I did not want to risk that. I'm very "risk-averse."
In any case, I decided that I needed to fill my void somehow. In the past I took computer classes. They were great! I learned a lot of important skills. Last Friday, one of my friends (a really awesome one, btw) took me to a "Free Art Friday." Free Art Friday is a program UW-Madison has where you do art... for free. The coordinators choose what the project is, so I guess not all of the art is free. But, it's still a great program, nonetheless. The project at this FAF was bead making. I got into DIY, so when I saw that the project was working with polymer clay, I got super excited.
I envisioned this pendant/thing to be with the small hole on top (for a jump ring). But I have this picture because the lighting is really good, and it's one of the better pictures.
In any case, I decided that I needed to fill my void somehow. In the past I took computer classes. They were great! I learned a lot of important skills. Last Friday, one of my friends (a really awesome one, btw) took me to a "Free Art Friday." Free Art Friday is a program UW-Madison has where you do art... for free. The coordinators choose what the project is, so I guess not all of the art is free. But, it's still a great program, nonetheless. The project at this FAF was bead making. I got into DIY, so when I saw that the project was working with polymer clay, I got super excited.
Here are the beads I made. They're not very unique, but with the limited time I had (I had a b-day to go to), I think I did well. I will def, add them to a chain later.
Anyway, while I was waiting for the beads to bake in the oven, I checked out the catalog of mini-courses offered during the semester. I knew that dying classes were offered as mini-course, so I wanted to know if there were any this coming semester. I didn't see a dye class I liked, but I did see one with stone cutting.
Jewelry has a special spot with me because one of my cousins is really into jewelry design. Any jewelry related topic makes me think of her. Thus, when I saw that there was a stone cutting class, I was super excited. However, I got a little discouraged when I saw that the stone setting class was offered off campus (not easy to get to!). Then, I saw that there was a course (offered on campus) that teaches stone setting.... but then I saw that you need to have basic metal working skills before taking the class. That's when I saw that there was a basic metal working class! It was perfect! So I signed up for it.
I had the first class today. I was SO PLEASED with class that I figured that signing up for the class was one of the best decisions I ever made. Seriously, I can not get over it. Everything about that class is perfect. The students are nice, the teacher is fantastic... just thinking about it makes me happy.
This is the first product I made. The point of this was to learn cutting and texturing.
I envisioned this pendant/thing to be with the small hole on top (for a jump ring). But I have this picture because the lighting is really good, and it's one of the better pictures.
I can't wait for next week! :)


